Vehicle Maintenance
Why is My Honda Accord Shaking When Accelerating?

In this article, we will discuss common reasons why your Honda Accord may be shaking when accelerating. We will cover potential issues such as engine misfires, problems with the fuel system, transmission issues, and more. By understanding the possible causes of this shaking sensation, you can address the problem promptly and ensure your vehicle is operating smoothly and safely.
Why is My Honda Accord Shaking When Accelerating?
Is Your Engine Misfiring?
One possible reason for your Honda Accord shaking when accelerating is an engine misfire. This occurs when there is a problem with the combustion process in one or more cylinders of the engine. When a cylinder misfires, it can cause the engine to run rough and create a noticeable shaking sensation. Common causes of engine misfires include faulty spark plugs, ignition coils, or fuel injectors. It is essential to address this issue promptly as prolonged misfiring can lead to further damage to the engine.
Are There Fuel System Problems?
Another potential cause of shaking when accelerating in your Honda Accord is issues with the fuel system. If there is a problem with the fuel filter, fuel pump, or fuel injectors, it can disrupt the proper flow of fuel to the engine. This can result in a rough-running engine and shaking during acceleration. Additionally, a dirty fuel system can lead to poor fuel combustion, causing the engine to shake. Regular maintenance of your fuel system, including changing the fuel filter and cleaning the fuel injectors, can help prevent these issues.
Could Transmission Problems be the Culprit?
Transmission issues can also cause your Honda Accord to shake when accelerating. If there is a problem with the transmission fluid, such as low levels or contamination, it can lead to a rough shift between gears and create a shaking sensation. Additionally, worn-out or damaged transmission components, such as the torque converter or transmission mounts, can also cause the vehicle to shake during acceleration. It is important to address any transmission problems promptly to avoid further damage to the vehicle.
Are Your Tires and Wheels Properly Balanced?
One often overlooked cause of shaking when accelerating in a Honda Accord is unbalanced tires or wheels. If the tires are not properly balanced, it can cause the vehicle to vibrate and shake, especially at higher speeds or during acceleration. Additionally, worn-out or damaged tires can also create a shaking sensation. Regular tire maintenance, including balancing and rotating the tires, can help prevent this issue and ensure a smooth ride.
Could Suspension Problems be to Blame?
Issues with the suspension system can also result in shaking when accelerating in your Honda Accord. If there is a problem with the shocks, struts, or suspension components, it can lead to a bumpy and rough ride. This can manifest as shaking or vibrating when accelerating or driving over rough roads. Regular inspection and maintenance of the suspension system, including replacing worn-out components, can help prevent these issues and ensure a comfortable driving experience.
Is it Time for a Tune-Up?
One final reason your Honda Accord may be shaking when accelerating is that it is due for a tune-up. Regular maintenance, such as changing the oil, replacing the air filter, and checking the spark plugs, can help keep your vehicle running smoothly. Neglecting routine maintenance can lead to performance issues, including shaking when accelerating. If it has been some time since your last tune-up, scheduling one can help address any potential problems and keep your Honda Accord in top condition.
Conclusion
If your Honda Accord is shaking when accelerating, it is essential to address the issue promptly to ensure the vehicle operates safely and smoothly. By understanding the potential causes of this shaking sensation, such as engine misfires, fuel system problems, transmission issues, tire and wheel imbalance, and suspension problems, you can take the necessary steps to resolve the issue. Regular maintenance and prompt attention to any warning signs can help prevent further damage to your vehicle and keep it running at its best.
FAQs
Q: Can a misfiring engine cause shaking when accelerating?
A: Yes, an engine misfire can lead to shaking when accelerating as it disrupts the combustion process in the engine.
Q: Why is it important to address transmission problems promptly?
A: Addressing transmission problems promptly is crucial to prevent further damage to the vehicle and ensure a smooth driving experience.
Q: How can I prevent shaking in my Honda Accord?
A: Regular maintenance, including tune-ups, tire balancing, and suspension inspections, can help prevent shaking when accelerating.
Q: Can unbalanced tires cause shaking in a vehicle?
A: Yes, unbalanced tires or wheels can lead to shaking, especially during acceleration or at higher speeds.
Q: What should I do if my Honda Accord is shaking when accelerating?
A: If your Honda Accord is shaking when accelerating, it is recommended to have the vehicle inspected by a professional mechanic to diagnose and address the issue promptly.
Vehicle Maintenance
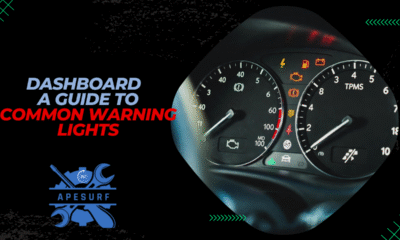
Understanding Your Dashboard: A Guide to Common Warning Lights
Introduction to Common Warning Lights
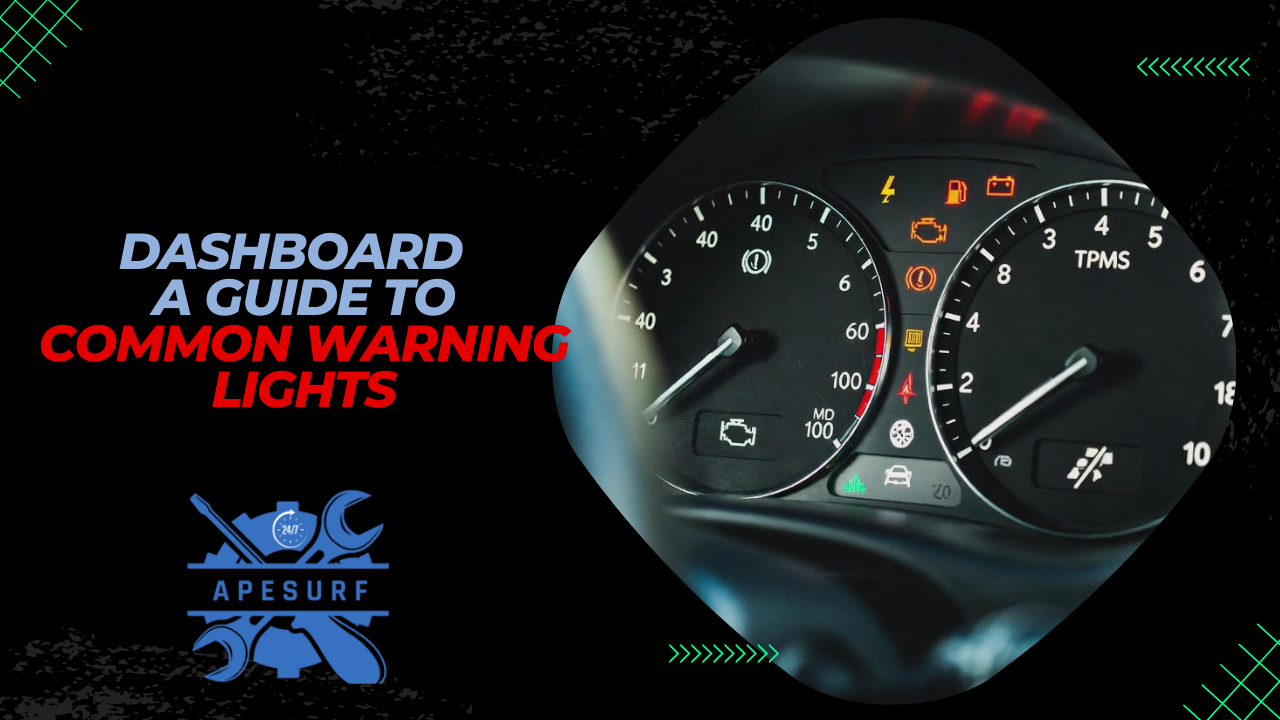
In the realm of automobile maintenance, understanding your vehicle’s warning lights is crucial. These illuminated indicators on your dashboard serve as signals, alerting you to potential issues that may require your attention. They range from benign reminders, like low fuel, to serious alerts indicating problems with your car’s engine or brakes. Knowing how to diagnose these warning lights can save you time, money, and headaches down the road.
The dashboard warning lights are your car’s communication system, designed to keep you informed about your vehicle’s health. Each symbol has a specific meaning, and knowing how to interpret them can help you take timely action. In this article, we’ll explore how you can diagnose common warning lights effectively.
Why Diagnosing Warning Lights Is Important
Understanding how to diagnose common warning lights is not just a skill for mechanics; it’s essential for every car owner. When a warning light illuminates, it’s your vehicle’s way of telling you that something isn’t right. Ignoring these signals can lead to costly repairs or even unsafe driving conditions.
Warning Lights On Your Car’s Dashboard, What Do They Mean (Explanation) | Quick Tips | Bright Source
Here are some critical reasons why diagnosing warning lights is essential:
Preventative Maintenance: Addressing minor issues before they escalate can prolong the life of your vehicle and reduce expensive repair bills.
Fuel Efficiency: Warning lights related to engine performance or emissions can negatively affect your fuel economy.
Resale Value: Keeping your vehicle in good condition enhances its resale value, and timely attention to warning lights plays a crucial part.- Incorporating these practices into your regular maintenance routine not only enhances your vehicle’s longevity but also ensures a safer driving experience.
Benefits of Diagnosing Warning Lights
Understanding how to diagnose common warning lights can provide a wealth of benefits:
Cost Savings
Timely intervention when a warning light appears can save you considerable money. For example, if the check engine light indicates a minor issue like a loose gas cap, a simple fix can prevent more severe engine damage.
Enhanced Vehicle Knowledge
Familiarity with your vehicle’s warning lights allows you to understand its needs better. This knowledge equips you to make informed decisions when seeking repairs or discussing issues with your mechanic.
Better Driving Experience
A well-maintained vehicle leads to improved driving comfort and handling. Addressing warning lights promptly ensures that your vehicle performs optimally, providing you with a smooth and enjoyable ride.
Peace of Mind
Knowing that you can diagnose issues as they arise leads to greater confidence behind the wheel. You won’t be left wondering if a problem is brewing under the hood.
Overall, understanding and diagnosing warning lights is a key component of responsible car ownership and can significantly enhance your overall experience as a driver.
A Step-by-Step Guide to Diagnosing Common Warning Lights
Diagnosing warning lights may seem daunting, but following a step-by-step approach can simplify the process. Here’s how to diagnose common warning lights effectively:
Step 1: Reference the Owner’s Manual
Your vehicle’s owner manual is the best source of information regarding dashboard lights. It provides detailed explanations of what each light signifies, along with recommended actions to take. It’s the first step before proceeding to diagnose the issue further.
Step 2: Identify the Warning Light
Different warning lights serve different purposes. Here are some common indicators you might encounter:
- Check Engine Light: Usually indicates an engine problem.
- Battery Light: Suggests a battery or alternator issue.
- Oil Pressure Light: Indicates low oil pressure or an oil leak.
- Tire Pressure Light: Signals low tire pressure.
Step 3: Conduct Preliminary Checks
After identifying the warning light, conduct some basic checks:
- Visual Inspection: Look under the hood for leaks or loose wires.
- Check Fluid Levels: Ensure that oil, coolant, and brake fluid are at appropriate levels.
- Tire Condition: Inspect tires for wear and proper inflation.
- Step 4: Use an OBD-II Scanner
If the warning light persists, you may need to use an OBD-II (On-Board Diagnostics II) scanner. This tool reads error codes from your vehicle’s computer, providing specific information about the underlying issue. Various mobile apps can read codes using your smartphone, making the process even more straightforward.
Step 5: Research the Error Code
Once you have the error code from the OBD-II scanner, research its meaning. Many online resources, including the manufacturer’s website, can help you understand the issue better. Some common error codes can be fixed easily, while others may require professional assistance.
Step 6: Take Necessary Action
Depending on the diagnosis, take appropriate actions:
- Minor Issues: Such as a loose gas cap, can be corrected at home.
- Professional Help: Complex problems, indicated by persistent warning lights, require skilled mechanics.
- By following this structured approach, diagnosing warning lights becomes manageable and manageable while empowering you to take control of your vehicle’s care.
Tips for Diagnosing Warning Lights
Diagnosing common warning lights doesn’t have to be a chore. Here are some tips to make the process easier and more efficient:
Stay Calm
When a warning light illuminates, resist the urge to panic. Take a deep breath, and begin your diagnosis with a clear mind.
Keep Your Owner’s Manual Nearby
Familiarize yourself with the layout of your vehicle’s dashboard and owner’s manual. Make it a habit to refer to the manual any time a new light comes on.
Utilize Technology
If you’re uncertain about how to read error codes, consider utilizing smartphone apps that are compatible with Bluetooth OBD-II scanners. They provide descriptions and repair suggestions based on the data retrieved.
Inspect Regularly
Get into the habit of checking your vehicle’s fluid levels and tire pressure regularly. Preventative checks can help detect issues before they escalate into serious problems.
Consult Professionals When Unsure
While diagnosing warning lights yourself is rewarding, it’s always a good idea to consult a professional mechanic for complex issues. Their expertise can save you time and trouble in the long run.
Common Mistakes in Diagnosing Warning Lights
Even experienced car owners can make mistakes when diagnosing warning lights. Here are some common pitfalls to avoid:
Ignoring the Warning Light
The most significant mistake is to ignore warning lights altogether. Dismissing them may lead to more severe problems.
Not Consulting the Owner’s Manual
Failing to refer to your owner’s manual can lead to misunderstanding what a particular light signifies, causing unnecessary anxiety or misdiagnosis.
Over Reliance on Technology
While OBD-II scanners are incredibly useful, they are not foolproof. Always double-check your findings against your vehicle’s manual or consult with a mechanic.
Delaying Action
Procrastination can worsen issues. If a warning light is indicating a serious problem, take action as soon as possible to avoid further damage.
Skip Preliminary Checks
Jumping straight to the OBD-II scanner without doing a visual inspection may result in missed potential issues. Always perform a quick check first.
By being aware of these common mistakes, you can improve your ability to accurately diagnose warning lights and take the necessary actions.
Frequently Asked Questions (FAQs)
What Should I Do If a Warning Light Comes On?
Begin by consulting your owner’s manual to identify the meaning of the warning light. If it indicates a severe issue, consider pulling over and addressing the problem or calling for assistance.
Is It Safe to Drive with Warning Lights On?
It depends on the warning light. While minor issues like a low fuel light may be fine to drive with, serious warnings like brake or engine lights should be addressed immediately to ensure safety.
How Can I Reset a Warning Light?
You can reset some warning lights by disconnecting the car battery for a short period or using an OBD-II scanner. However, it’s essential to resolve the underlying issue first.
How Often Should I Check My Warning Lights?
You should check your dashboard warning lights every time you start your vehicle to ensure they’re functioning correctly.
Can I Ignore My Check Engine Light?
Ignoring the check engine light is never advisable. It could indicate a range of issues, from minor to severe. Always address it as soon as possible.
Conclusion: Empower Yourself Through Knowledge
Understanding how to diagnose common warning lights is an invaluable skill for any car owner. By becoming familiar with your vehicle’s dashboard, reading your owner’s manual, and using tools like OBD-II scanners, you empower yourself to make informed decisions.
Timely intervention can save you money, enhance your driving experience, and ensure your safety on the road. Remember, your car communicates with you through these warning lights; all it requires is a keen eye and a willingness to listen.
Taking control of your vehicle’s maintenance journey leads to longevity, reliability, and overall satisfaction. So the next time a warning light illuminates your dashboard, you’ll be ready to diagnose the issue like a pro!
Vehicle Maintenance
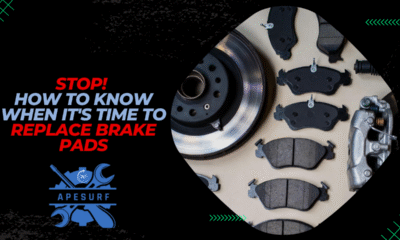
Stop! How to Know When It’s Time to Replace Your Brake Pads
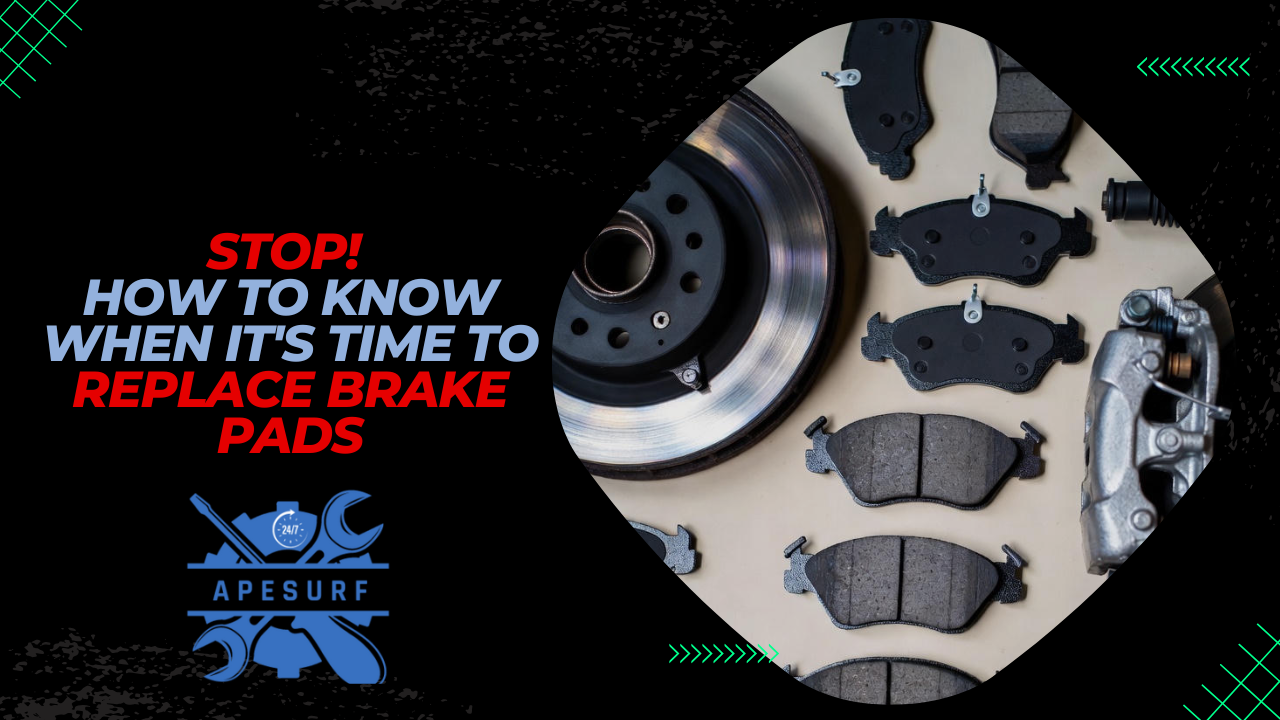
Driving is an everyday activity for many people, but it can also be a source of anxiety especially when it comes to vehicle safety. One of the most critical aspects of ensuring your vehicle operates smoothly is maintaining its braking system. This brings us to a vital question many drivers face: When should I replace my brake pads? In this comprehensive guide, we’ll delve into the importance of brake pads, signs indicating they need a change, and practical tips to ensure you don’t compromise your safety on the road.
Understanding Brake Pads
Brake pads are an essential component of your vehicle’s braking system. These pads apply friction to the brake rotors to bring your vehicle to a halt. They are typically made of metal, rubber, or organic materials, and they wear down over time due to constant use. Just like any other part of your vehicle, brake pads have a limited lifespan. Understanding how they work and their role in your vehicle’s braking system will help you recognize when it’s time for a replacement.
The basic functioning of brake pads involves a two-part process. When you press down on the brake pedal, the hydraulic brake system pushes the brake pads against the rotors (the metal discs in your wheels). The friction created between the pads and rotors slows down the wheel’s rotation, ultimately bringing your vehicle to a stop. However, with time and extensive use, this friction can lead to wearing down the brake pads, making them less effective and potentially dangerous.
Choosing The Best Brake Pads & Rotors For Your Car – Brake Pads & Rotors Explained
Importance of Replacing Brake Pads
The importance of regularly replacing your brake pads cannot be overstated. They play a crucial role in ensuring that your vehicle stops safely and effectively. Neglecting worn-out brake pads can lead to various issues, including:
Decreased Stopping Power: Worn-out brake pads can significantly reduce your stopping distance, making it challenging to brake effectively in an emergency.Damage to Brake Rotors: If brake pads are not replaced in a timely manner, they can deteriorate to the point where they damage the rotors. Replacing rotors is substantially more expensive than just changing the pads.
Risk of Brake Failure: Ultimately, ignoring the need to replace brake pads can lead to total brake failure, putting not only the driver but also passengers and other road users in danger.
- Reduced Brake Performance: Old brake pads can cause your brakes to feel “spongy” or unresponsive, making driving less safe.
Recognizing the importance of well-maintained brake pads is essential for every driver committed to safety and vehicle longevity.
Benefits of Timely Brake Pad Replacement
The benefits of timely brake pad replacement extend beyond just safety. Here are some reasons why you should prioritize the maintenance of your vehicle’s braking system.
Enhanced Safety: Regularly replaced brake pads ensure reliable stopping power, reducing the risk of accidents.
Cost Savings: Investing in regular brake pad replacement helps avoid expensive repairs to other brake components, such as rotors and calipers.
Improved Vehicle Performance: Fresh brake pads will provide better responsiveness and performance, making your driving experience smoother and safer.
- Less Noise and Vibration: Worn brake pads often create noise or vibrations during braking. New pads will provide a quieter and more comfortable ride.
In short, replacing brake pads on time not only promotes safety but also enhances the overall driving experience.
Signs That Indicate You Should Replace Your Brake Pads
Knowing when to replace your brake pads is crucial. Here are some signs that indicate it may be time for a replacement:
Squeaking or Squealing Noises: A high-pitched squeaking noise when you apply the brakes is a common indicator that your brake pads are worn out and need changing.
Grinding Noise: If you hear a grinding noise, your brake pads may be so worn down that the metal backing is coming into contact with the rotors. This requires immediate attention.
Vibration or Pulsation: If you feel a vibration or pulsation in the brake pedal, it may indicate that the brake pads are unevenly worn.
Dashboard Warning Light: Many modern vehicles have a dashboard warning light specifically for the braking system. If this light illuminates, it’s time to check your brake pads.
- Reduced Responsiveness: If your brakes feel less responsive or require more force to engage, it may indicate that the pads are worn out and need replacement.
Recognizing these signs early will help prevent more serious issues and potential accidents.
Step-by-Step Guide: How to Replace Brake Pads
Here’s a straightforward guide to help you navigate the process of replacing your brake pads. You can always consult a professional mechanic if you’re unsure.
-
Gather Your Tools: Ensure you have all necessary tools, including a jack, jack stands, wrenches, and new brake pads.
Lift the Vehicle: Use a jack to lift your vehicle and secure it with jack stands. Ensure you are working on a flat, stable surface.
Remove the Wheel: Take off the wheel to access the brake assembly.
Remove the Brake Caliper: Locate the brake caliper and remove its bolts to detach it from the rotor.
Remove Old Brake Pads: Slide the old brake pads out of their brackets. Take note of how they are positioned to install the new ones correctly.
Install New Brake Pads: Slide the new brake pads into place, ensuring they are positioned correctly.
Reattach the Brake Caliper: Place the caliper back over the new pads and secure it by tightening the bolts.
Replace the Wheel: Put the wheel back on and ensure all bolts are tightened correctly.
- Test the Brakes: Before driving, press the brake pedal a few times to ensure the pads are seated correctly.
By following these steps, you can effectively replace brake pads and ensure your vehicle is safe to drive.
Tips for Maintaining Brake Pads
Maintaining your brake pads can prolong their life and enhance your safety. Here are some tips to keep your braking system in good shape:
-
Regular Inspections: Regularly check your brakes, even if you don’t notice any issues. Early detection can save you a lot of trouble.
Drive with Care: Avoid sudden stops and rapid acceleration, which can wear down your brake pads more quickly.
Quality Parts: Always opt for high-quality replacement brake pads. Cheaper alternatives may save money initially, but they can wear down faster and compromise safety.
Brake Fluid Maintenance: Regularly check and replace brake fluid as needed. Old or low brake fluid can affect brake performance.
- Rotate Tires: Regularly rotating your tires can promote even wear on your brake pads.
By adopting these maintenance habits, you can help prolong the life of your brake pads, ensuring your safety on the road.
Common Mistakes to Avoid
While it’s important to know when to replace brake pads, there are also common mistakes that drivers make concerning their braking systems. Avoiding these can save you time and money:
-
Ignoring Warning Signs: Many drivers ignore noises or reduced braking performance, thinking they can wait until the next service. Don’t wait; address the issue immediately.
Neglecting Other Components: Focusing solely on brake pads and neglecting other components like rotors can lead to bigger problems.
Using Low-Quality Parts: Opting for the cheapest brake pads may save money in the short run, but they can wear out quickly and may not provide adequate safety.
Overlooking Brake Fluid: Forgetting to check and maintain brake fluid can impact overall braking performance.
- Attempting DIY Without Knowledge: If you’re not familiar with working on vehicles, it’s best to seek professional help. Incorrect installation can lead to dangerous situations.
Being mindful of these common mistakes will ensure your vehicle remains in great shape and your braking system functions optimally.
FAQs About Brake Pads
Here are some frequently asked questions that can provide additional clarity regarding brake pads:
How long do brake pads last?
The lifespan of brake pads can vary significantly typically between 30,000 to 70,000 miles. However, many factors affect this, including your driving style, vehicle type, and the quality of the brake pads.
Can I drive with worn out brake pads?
No, driving with worn out brake pads is dangerous. It can significantly increase stopping distance and lead to brake failure.
How often should I check my brake pads?
Regularly inspect your brake pads every 10,000 miles or during routine oil changes. If you notice any signs of wear, check them sooner.
What happens if I don’t replace my brake pads?
Failing to replace brake pads can lead to rotor damage, expensive repairs, and most importantly, unsafe driving conditions.
Should I replace all brake pads at once?
It’s typically a good idea to replace brake pads on the same axle (front or rear) at the same time for balanced braking performance.
Conclusion
Understanding when to replace your brake pads is vital for anyone who drives. By recognizing the importance of timely brake maintenance and being aware of the signs that indicate the need for replacement, you can ensure your safety and that of others on the road. Regular inspections, quality replacement parts, and careful driving will help your brake pads last longer, ensuring your vehicle operates efficiently.
Don’t ignore the signs, and make brake maintenance a priority. Remember, a few simple steps can save you from costly repairs and, more importantly, keep you safe on the road. Taking care of your braking system is not just about maintaining a vehicle; it’s about safeguarding lives.
Vehicle Maintenance
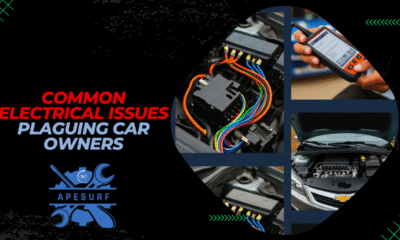
Common Electrical Issues Plaguing car Owners
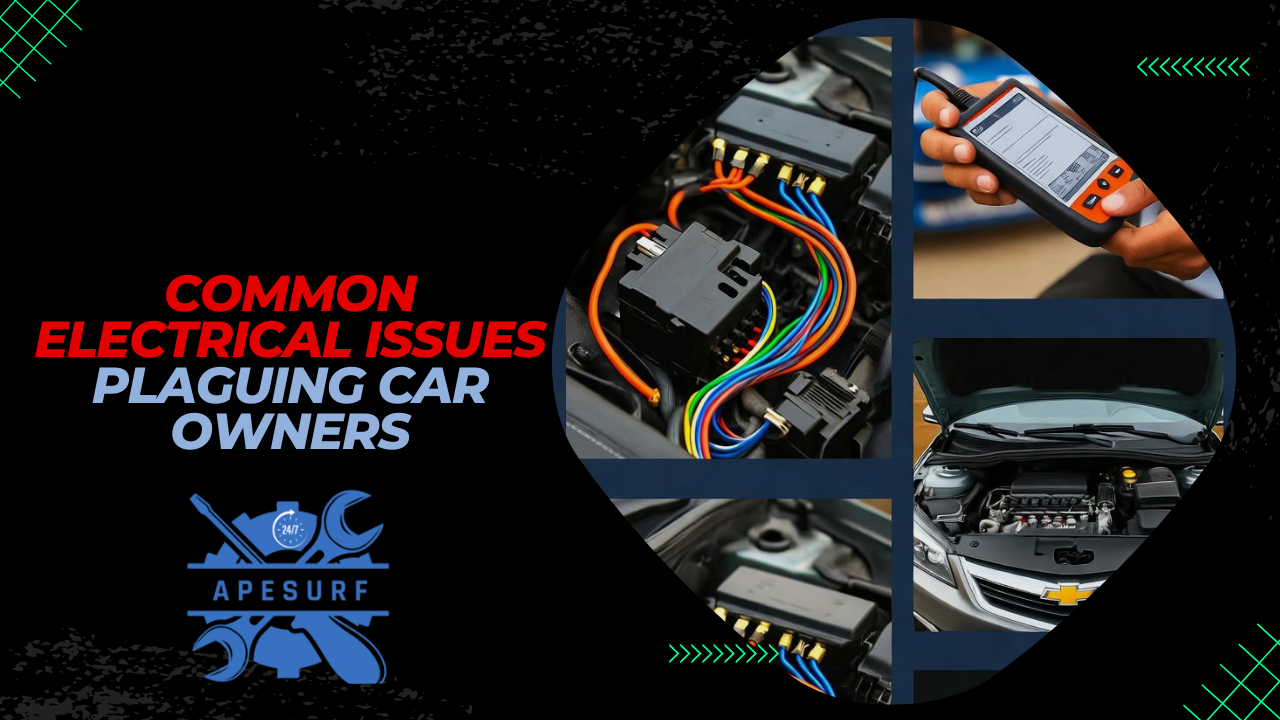
When it comes to cars, electrical problems often leave owners scratching their heads. The Chevy Malibu, a popular midsize sedan known for its comfort and fuel efficiency, is not exempt from these challenges. Understanding the nuances of Chevy Malibu electrical problems can save you time, money, and frustration.
What Are Chevy Malibu Electrical Problems?
Electrical problems in a Chevy Malibu refer to any malfunction or failure in the vehicle’s electrical system. This might include issues with the battery, alternator, wiring, computer systems, or electrical components like lights, windows, and infotainment systems. Problems can manifest through symptoms such as flickering lights, unresponsive buttons, or a failing battery.
Why Understanding Electrical Problems Is Important | Common Electrical Issues Plaguing car Owners
Understanding electrical issues in your Chevy Malibu is crucial for several reasons. First, these problems can range from minor annoyances, such as a malfunctioning radio, to major issues that can jeopardize your safety, like failing brake lights.
By recognizing signs early, you can prevent further damage and increase the lifespan of your vehicle. Additionally, awareness can afford you better negotiation power at auto shops, allowing you to address issues without falling victim to up-sell tactics that mechanics might use.
Benefits of Addressing Electrical Problems Promptly
Addressing Chevy Malibu electrical problems promptly offers numerous benefits.
Safety and Reliability
A vehicle that functions properly is crucial for safe driving. Electrical problems can lead to critical safety failures. For instance, a malfunctioning anti-lock braking system (ABS) can affect your braking capabilities. By addressing issues quickly, you ensure a safer driving experience for both you and your passengers.
Cost-Effectiveness
Ignoring small electrical problems can lead to bigger, more expensive repairs down the line. A failing battery, if not replaced promptly, can drain your alternator, requiring further repairs. By catching issues early, you can save money and avoid unexpected expenses.
Improved Performance
When electrical systems are functioning as intended, your car runs more smoothly. Issues like poor battery connections can cause irregular performance, leading to stalling or engine trouble. Fixing these issues ensures that your Chevy Malibu performs at its best.
Step-by-Step Guide: How to Diagnose Chevy Malibu Electrical Problems
Diagnosing electrical problems in your Chevy Malibu can be a daunting task, but following a systematic approach can simplify the process.
Step 1: Initial Inspection
Begin with a visual inspection of your vehicle. Check for any obvious signs of trouble such as frayed wires, corroded battery terminals, or burnt-out fuses. Sometimes, the solution can be as simple as tightening loose connections.
Step 2: Use an OBD-II Scanner
Modern vehicles, including the Chevy Malibu, come equipped with on-board diagnostics systems. Using an OBD-II scanner, you can read trouble codes that pinpoint specific electrical issues. These codes provide valuable insights into which systems are malfunctioning.
Step 3: Check the Battery
A failing battery is often the culprit behind most electrical problems. Test your battery’s voltage with a multimeter ideally, it should be around 12.6 volts when the engine is off. If the voltage is low, you may need a replacement.
Step 4: Inspect the Alternator
The alternator is responsible for charging the battery while your car is running. If you’re experiencing electrical issues, inspect the alternator for signs of wear or malfunction. A failing alternator may not recharge the battery adequately, leading to further electrical problems.
Step 5: Examine Fuses and Relays
Fuses and relays are crucial in protecting your vehicle’s electrical systems. If a specific system isn’t working, check related fuses. If a fuse is blown, replace it and see if the problem persists.
Step 6: Consult a Professional Mechanic
If you’ve gone through these steps and still experience electrical issues, it may be time to consult a professional. Electrical problems can be complex and require sophisticated testing equipment that most DIYers may not have access to.
Tips for Preventing Electrical Problems in Your Chevy Malibu
Preventing electrical problems is far easier than fixing them. Here are some practical tips to keep your Chevy Malibu running smoothly.
Regular Maintenance
Regularly scheduled maintenance is key to preventing electrical issues. This includes checking the battery and alternator, inspecting wiring for wear, and testing electrical components.
Keep the Battery Clean
Corrosion can build up on battery terminals, interfering with performance. Cleaning your battery terminals and ensuring tight connections can help prevent issues caused by dirty connections.
Use Quality Parts
When replacing any electrical components, always opt for high-quality parts to ensure reliability. Cheap substitutes may save you money upfront but can cost more in the long run due to poor performance or early failure.
Monitor Warning Lights
Pay attention to dashboard warning lights. If an electrical issue arises, these indicators can offer clues. Do not ignore them; instead, address the indicated problems as soon as possible.
Invest in a Quality Charger
If you’re experiencing frequent battery issues, investing in a quality battery charger or jump starter can be advantageous. This allows you to troubleshoot issues without frequently visiting a mechanic.
Common Mistakes to Avoid
When dealing with electrical problems in your Chevy Malibu, avoid these common pitfalls.
Ignoring Symptoms
One of the biggest mistakes drivers make is ignoring early warning signs of electrical problems. Flickering lights or a slow-starting engine may seem minor but could indicate more significant underlying issues.
DIY Repairs Without Knowledge
While some minor repairs can be done at home, diving into complex electrical work without sufficient knowledge can result in more damage. If you’re unsure, consult a professional instead.
Neglecting Software Updates
Modern cars often come equipped with software that may require regular updates. Neglecting these updates can lead to glitches in the electrical systems that could be easily resolved.
Mixing Electrical Components
Replacing electrical parts with components that are not compatible can cause more issues than they solve. Always check that replacements are specifically meant for your Chevy Malibu.
FAQs on Chevy Malibu Electrical Problems
1. What are the most common electrical problems in a Chevy Malibu?
Common issues often include battery failures, malfunctioning alternators, faulty wiring, and problems with electrical components like windows, locks, or lights.
2. How do I know if my battery is failing?
Signs of a failing battery may include difficulty starting the engine, dim headlights, or the battery warning light appearing on your dashboard.
3. What should I do if my car won’t start?
If your Chevy Malibu won’t start, check the battery connections and fuses first. If all seems well, consider calling roadside assistance for a jump-start or a tow to a mechanic.
4. Are electrical problems covered under warranty?
This depends on your warranty’s terms. Many warranties cover electrical issues, but checking your specific coverage details is essential.
5. Can I fix electrical problems on my own?
Some minor electrical issues can be resolved at home, but complex problems often require professional expertise. If in doubt, consult a mechanic.
Conclusion:
Staying Ahead of Chevy Malibu Electrical Problems
Dealing with electrical problems in your Chevy Malibu can be overwhelming, but knowledge is power. By understanding the common issues, how to diagnose them, and the importance of timely repairs, you take valuable steps toward maintaining your vehicle’s performance. Regular maintenance and being attentive to warning signs can save you time and money. When in doubt, consulting a professional can ensure that your Chevy Malibu stays in top condition, ready to hit the road safely and efficiently.
Tags : Chevy Malibu, electrical problems, car maintenance, vehicle parts, timely repairs, regular maintenance, Chevy Malibu issues, automotive diagnostics, car performance, fuel efficiency
-

 Vehicle Maintenance2 years ago
How to Replace the Fuel Pump on a 2000 Silverado: A Step-by-Step Guide
-
 Vehicle Maintenance2 years ago
Common Issues with the Chevrolet S10 2.2 Engine: What Owners Need to Know
-

 Vehicle Maintenance1 year ago
Is the BJ’s Wholesale Auto Buying Program Worth It?
-

 Vehicle Maintenance2 years ago
Understanding the Hyundai vehicle Lease Early Termination Fee: What You Need to Know
-
 Vehicle Maintenance2 years ago
The Common Causes of a Buick Enclave Radio Not Working
-
 Vehicle Maintenance1 year ago
Why is my Toyota Camry’s fuel gauge stuck on full?
-

 Vehicle Maintenance1 year ago
Why is my Kia Sorento making a rattling noise when I accelerate?
-

 Vehicle Maintenance1 year ago
Why Your Honda Pilot Battery Light Keeps Coming On: Common Causes and Solutions


