Vehicle Maintenance
Can you provide a detailed explanation of the 2007 Chevy Tahoe wiring schematic?
In this article, we will discuss the detailed explanation of the wiring schematic for the 2007 Chevy Tahoe. We will break down each section of the schematic to provide a clear understanding of the wiring system in the vehicle. From the ignition system to the lighting system, we will explore how each component is connected and functions within the overall wiring design of the Chevy Tahoe. Whether you are a car enthusiast looking to understand the inner workings of your vehicle or a mechanic troubleshooting an electrical issue, this article will provide valuable insights into the wiring schematic of the 2007 Chevy Tahoe.
What is a wiring schematic and why is it important for vehicle maintenance?
A wiring schematic is a diagram that shows the electrical connections and components in a system. In the case of the 2007 Chevy Tahoe, the wiring schematic provides a detailed layout of how the various electrical components are connected within the vehicle. This is crucial for vehicle maintenance as it allows mechanics to troubleshoot electrical issues, identify faulty connections, and make repairs effectively.
The wiring schematic for the 2007 Chevy Tahoe includes detailed information on the power distribution, ground distribution, module communication network, starting system, charging system, lighting system, and more. Each section of the schematic is color-coded and labeled to provide clarity on the electrical connections within the vehicle.
How is the ignition system wired in the 2007 Chevy Tahoe?
The ignition system in the 2007 Chevy Tahoe consists of components such as the ignition switch, ignition coil, spark plugs, and distributor. The wiring schematic for the ignition system shows how these components are connected to each other and to the battery. The ignition switch sends a signal to the ignition coil, which then generates high voltage to ignite the spark plugs. This section of the wiring schematic is crucial for starting the vehicle and ensuring proper engine function.
The ignition system wiring in the 2007 Chevy Tahoe is designed to provide consistent and reliable spark to the engine for smooth operation. By following the wiring schematic for the ignition system, mechanics can easily diagnose and repair issues related to starting and running the engine.
How does the lighting system wiring work in the 2007 Chevy Tahoe?
The lighting system in the 2007 Chevy Tahoe includes components such as headlights, taillights, turn signals, and brake lights. The wiring schematic for the lighting system shows how these components are connected to the battery, switches, and fuses. The headlights, for example, receive power from the battery through a fuse and are controlled by the headlight switch. The taillights, turn signals, and brake lights are also connected to the battery and controlled by their respective switches.
The wiring for the lighting system in the 2007 Chevy Tahoe is designed to provide adequate illumination for safe driving in various conditions. By following the wiring schematic for the lighting system, mechanics can troubleshoot and repair issues related to bulbs, fuses, switches, and wiring connections.
What is the power distribution wiring layout in the 2007 Chevy Tahoe?
The power distribution wiring in the 2007 Chevy Tahoe includes connections for various electrical components such as the alternator, battery, fuses, and relays. The wiring schematic for the power distribution system shows how power is distributed from the battery to the different components in the vehicle. Fuses and relays act as protection devices to prevent electrical overload and damage to sensitive components.
The power distribution wiring layout in the 2007 Chevy Tahoe is designed to ensure efficient and reliable operation of electrical systems in the vehicle. By following the wiring schematic for power distribution, mechanics can identify and fix issues related to power loss, short circuits, and faulty connections.
How is the ground distribution wiring configured in the 2007 Chevy Tahoe?
The ground distribution wiring in the 2007 Chevy Tahoe includes connections for grounding various electrical components such as the engine, body, and chassis. The wiring schematic for the ground distribution system shows how these components are connected to the battery ground and to each other. Ground connections are essential for completing the electrical circuit and ensuring proper operation of the vehicle.
The ground distribution wiring in the 2007 Chevy Tahoe is designed to provide a reliable path for electrical current to return to the battery. By following the wiring schematic for ground distribution, mechanics can diagnose and repair issues related to poor grounding, electrical noise, and voltage fluctuations.
Conclusion
In conclusion, understanding the wiring schematic of the 2007 Chevy Tahoe is essential for vehicle maintenance and troubleshooting electrical issues. By following the detailed layout of the wiring system, mechanics can effectively diagnose and repair problems related to the ignition, lighting, power distribution, and ground distribution systems in the vehicle. Whether you are performing routine maintenance or addressing a specific electrical issue, having a clear understanding of the wiring schematic will help you work more efficiently and confidently.
FAQs
1. Can I use the wiring schematic for the 2007 Chevy Tahoe to troubleshoot my own vehicle?
– Yes, the wiring schematic can be a valuable tool for DIY enthusiasts looking to diagnose and repair electrical issues in their Chevy Tahoe.
2. How often should I refer to the wiring schematic for maintenance purposes?
– It is recommended to consult the wiring schematic whenever you are troubleshooting an electrical issue or performing maintenance on the vehicle.
3. Is it possible to download a digital copy of the wiring schematic for the 2007 Chevy Tahoe?
– Digital copies of wiring schematics can often be found online through automotive forums, manuals, or official manufacturer websites.
4. Are there any common electrical issues that the wiring schematic can help me solve in my 2007 Chevy Tahoe?
– Yes, the wiring schematic can assist in diagnosing common issues such as faulty ignition systems, lighting malfunctions, power distribution problems, and ground distribution issues.
5. How can I ensure the safety of working with the electrical system in my 2007 Chevy Tahoe?
– It is important to disconnect the battery before working on any electrical components and to follow proper safety precautions outlined in the vehicle manual.
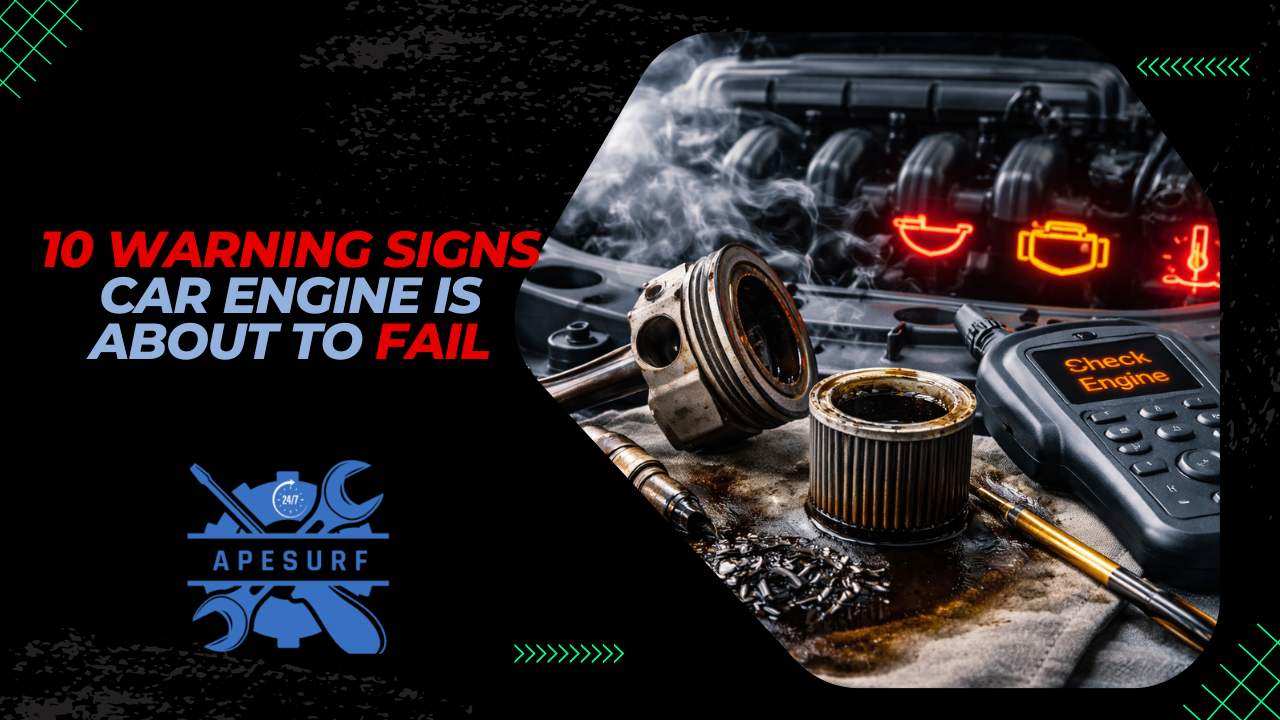
Car engine is the heart of your vehicle. When it starts to fail, it often gives warning signs before a serious breakdown happens. In this article, we will discuss ten common warning signs that your car engine may be about to fail and why you should never ignore them.
Is Your Engine Making Unusual Knocking or Tapping Sounds?
Strange noises coming from the engine are often one of the earliest warning signs of engine trouble. Knocking, tapping, or metallic sounds may indicate internal damage or parts wearing out. These noises typically occur when engine components such as pistons, bearings, or valves are not functioning properly.
Sometimes the problem may be caused by low engine oil or poor lubrication. Without proper lubrication, metal parts rub together, creating noise. If ignored, this friction can lead to serious engine damage.
If you notice unusual engine sounds while driving or when the car is idling, it is best to get the vehicle inspected quickly. Early detection can prevent expensive repairs or complete engine failure.
Is Excessive Smoke Coming from the Exhaust?
Your car’s exhaust smoke can reveal a lot about engine health. Different colors of smoke may indicate different problems inside the engine. For example, blue smoke usually means the engine is burning oil.
White smoke may suggest coolant leaking into the engine cylinders. This often happens when the head gasket is damaged. Black smoke usually means the engine is burning too much fuel due to a faulty fuel system.
If your vehicle suddenly starts producing thick or unusual exhaust smoke, it is a clear warning sign that something is wrong inside the engine. Ignoring this issue may cause severe engine damage over time.
Is Your Car Losing Engine Power?
A noticeable loss of engine power is another warning sign of possible engine failure. You may feel that the car struggles to accelerate or cannot maintain normal speed on the road.
This problem can happen for many reasons such as clogged fuel injectors, poor air supply, worn spark plugs, or internal engine wear. When the engine cannot produce the required power, driving performance becomes weak and unstable.
If your car suddenly feels slower or less responsive than usual, it is important to investigate the issue quickly. Continued driving with low engine power can worsen the damage.
Is the Engine Overheating Frequently?
Engine overheating is a serious problem that should never be ignored. When the engine temperature rises beyond safe limits, internal components can expand and become damaged.
Overheating may occur due to coolant leaks, radiator issues, water pump failure, or a faulty thermostat. In some cases, low engine oil can also cause excessive heat buildup.
If your temperature gauge frequently moves into the red zone or you see steam coming from the hood, stop the vehicle immediately and allow the engine to cool down. Continuous overheating can lead to permanent engine failure.
Are There Warning Lights Appearing on the Dashboard?
Modern vehicles use sensors to monitor engine performance. When something goes wrong, the system alerts the driver through warning lights on the dashboard. The most common one is the check engine light.
This light can appear for many reasons, including sensor failure, ignition issues, fuel system problems, or engine misfires. While sometimes the issue may be minor, it can also indicate serious engine trouble.
Ignoring dashboard warning lights can allow problems to grow worse over time. A quick diagnostic scan at a repair shop can identify the exact issue and help prevent major engine damage.
Every Dashboard Warning Lights in Your Car Explained
Is Your Engine Consuming Too Much Oil?
Engines normally use a small amount of oil over time, but excessive oil consumption is not normal. If you constantly need to add oil between service intervals, your engine may have internal wear.
Worn piston rings, damaged valve seals, or leaking gaskets can allow oil to enter areas where it should not be. When this happens, the engine burns oil during operation.
Running an engine with low oil levels can lead to severe internal damage. Regularly checking the oil level and monitoring sudden changes can help identify this problem early.
Is the Engine Vibrating or Running Rough?
A healthy engine should run smoothly with minimal vibration. If you start feeling strong vibrations, shaking, or rough idling, it may indicate engine problems.
This issue can occur due to misfiring spark plugs, damaged engine mounts, fuel system problems, or internal mechanical wear. When the engine does not run smoothly, it means the combustion process is not happening properly.
If the car shakes while idling or driving, it should be checked by a mechanic as soon as possible. Ignoring engine vibrations can eventually lead to more serious mechanical damage.
Is There a Strong Burning Smell from the Engine?
A burning smell coming from the engine area often signals overheating or leaking fluids. Burning oil or coolant can produce a noticeable smell inside or outside the vehicle.
Oil leaks may drip onto hot engine parts, creating smoke and a burning odor. Electrical components can also overheat and produce similar smells if there is a wiring issue.
If you notice unusual smells while driving, it is best to stop and inspect the vehicle. Continuing to drive with leaking fluids or overheating components may lead to severe engine failure.
Are You Noticing Metal Particles in the Engine Oil?
During routine oil changes, mechanics sometimes find small metal particles in the engine oil. These particles usually come from internal engine components that are wearing out.
Common sources include crankshaft bearings, pistons, and cylinder walls. When metal particles appear in large amounts, it means internal parts are grinding against each other.
This is often a serious warning sign that the engine is suffering from internal damage. If detected early, repairs may still be possible before a complete engine breakdown occurs.
Is Your Car Stalling or Struggling to Start?
Difficulty starting the engine or sudden stalling can also indicate major engine problems. When the engine struggles to start, it may be due to fuel system issues, ignition failure, or internal mechanical wear.
Sometimes the car may start normally but stall while driving or at traffic lights. This can happen if the engine cannot maintain proper combustion or fuel delivery.
Frequent stalling is a serious safety concern and should never be ignored. A professional inspection can help identify the root cause and prevent a complete engine failure.
FAQs
How often should I service my car engine?
Most vehicles should be serviced every 5,000 to 10,000 kilometers depending on the manufacturer’s recommendation. Regular servicing includes oil changes, filter replacement, and checking important engine components.
Can poor quality fuel damage an engine?
Yes, low quality fuel can cause carbon buildup, injector blockage, and poor combustion. Over time, this can reduce engine performance and lead to long term damage.
Does aggressive driving affect engine lifespan?
Frequent hard acceleration, high speed driving, and sudden braking can put extra stress on engine components. Smooth and controlled driving habits help extend engine life.
What role does engine oil play in engine health?
Engine oil lubricates moving parts, reduces friction, and helps control temperature. Without proper lubrication, internal components can wear out quickly and cause engine failure.
Can skipping regular maintenance cause engine failure?
Yes, neglecting regular maintenance such as oil changes and filter replacements can allow small issues to develop into major engine problems over time. Regular care is essential for long term engine reliability.
Conclusion
Your car engine usually gives warning signs before it completely fails. Strange noises, excessive smoke, overheating, power loss, and unusual vibrations are all signals that something may be wrong. Paying attention to these early symptoms can help prevent serious damage and expensive repairs.
Regular maintenance, timely inspections, and quick repairs are the best ways to keep your engine running smoothly for many years. If you notice any unusual behavior from your vehicle, it is always safer to have it checked by a professional mechanic.
car engine failure warning signs, engine failure symptoms, signs of a bad car engine, car engine problems, engine knocking sound causes, car losing engine power, engine overheating problems, excessive exhaust smoke causes, check engine light meaning, car engine maintenance tips, engine misfire symptoms, engine vibration causes, rough engine idle problems, burning smell from engine, car engine oil consumption issues, metal particles in engine oil, engine stalling problems, car engine not starting properly, early signs of engine failure, car engine troubleshooting guide, common engine problems in cars, how to prevent engine failure, vehicle engine repair signs, engine performance problems, car maintenance warning signs, engine damage symptoms, bad piston ring symptoms, worn engine bearings signs, head gasket failure symptoms, car overheating causes, engine oil leak problems, vehicle engine diagnostics, poor engine acceleration causes, car engine repair warning signs, internal engine damage symptoms, common vehicle maintenance problems, engine reliability issues, vehicle power loss causes, engine mechanical failure signs, automotive engine problems, engine noise diagnosis, engine overheating warning signs, car engine failure prevention, vehicle engine health check, engine running rough causes, engine combustion problems, car engine trouble symptoms, major engine repair warning signs, vehicle engine lifespan issues, car engine breakdown signs, engine warning indicators, car engine inspection tips

Electric vehicles (EVs) are becoming more popular because they are quiet, efficient, and better for the environment. However, EV ownership also comes with several hidden challenges. In this article, we explore some lesser known problems EV owners face and how these issues affect vehicle maintenance, reliability, and longterm ownership.
Top Electric Vehicle brands include :
- Tesla, known for long driving range, fast acceleration, and advanced autopilot technology
- BYD, famous for its Blade Battery technology, strong safety standards, and affordable EV models
- Nissan, recognized for the reliable Nissan Leaf with smooth driving and efficient battery performance
- Hyundai, offering models like the Hyundai Ioniq 5 with ultrafast charging and modern design
- BMW, producing premium EVs such as the BMW i4 that combine luxury, performance, and advanced driver assistance technology. These brands lead the EV market by focusing on battery efficiency, smart software systems, longer range, and improved charging technology.
Why Do EV Batteries Degrade Faster Than Many Owners Expect?
One of the most important components of an electric vehicle is the battery pack. Many EV owners assume that batteries will last for many years without any noticeable loss in performance. However, battery degradation is a real issue that slowly reduces the driving range of the vehicle over time.
Battery degradation mainly happens because of repeated charging cycles. Each time the battery is charged and discharged, it experiences small chemical changes. Over thousands of cycles, this reduces the battery’s ability to hold the same amount of energy as when it was new.
Environmental conditions also play a role. Very hot climates, frequent fast charging, and regularly charging the battery to 100% can speed up battery wear. Although manufacturers provide battery warranties, the gradual loss of range can still affect daily driving convenience for EV owners.
Why Is EV Charging Sometimes Slower Than Advertised?
Many EV advertisements highlight fast charging capabilities. However, in real world situations, charging speeds can be much slower than expected.
Charging speed depends on several factors such as charger power, battery temperature, and battery state of charge. For example, charging usually slows down significantly once the battery reaches around 80%. This is done to protect the battery and prevent overheating.
Another factor is charging station performance. Some public chargers may deliver less power than advertised due to power sharing or maintenance issues. Because of these limitations, EV owners often experience longer charging times than the manufacturer’s official figures suggest.
Why Are Home Charging Installations Sometimes Expensive?
Many new EV buyers assume that charging at home is simple and inexpensive. While home charging is convenient, the installation cost can sometimes be higher than expected.
A proper home charging setup often requires a dedicated charging unit known as a wall box. In some homes, electrical upgrades are necessary to support the charger safely. This may include installing new wiring, upgrading the circuit breaker, or improving the electrical panel.
These installation requirements can increase the overall cost of EV ownership. Although the investment pays off over time through lower fuel costs, the initial setup can surprise many first time EV owners.
10 MAJOR PROBLEMS With Electric Cars You Must Know Before Buying One
https://www.youtube.com/watch?v=JTqUcS1itug
Why Do EV Tires Wear Out Faster?
Electric vehicles are heavier than traditional gasoline cars because of their large battery packs. This extra weight puts more pressure on the tires, causing them to wear faster.
Another factor is instant torque. EV motors deliver power immediately when the accelerator is pressed. This quick acceleration increases stress on the tires, especially during frequent city driving.
Because of these factors, EV owners often replace tires sooner than expected. Regular tire inspections and proper tire pressure maintenance become very important for both safety and cost control.
Why Can EV Repairs Be More Complicated?
Although EVs have fewer moving parts than traditional vehicles, repairs can sometimes be more complicated. Many components require specialized tools and trained technicians.
For example, high voltage systems in EVs require safety precautions during servicing. Not all repair shops have the equipment or knowledge to work on electric vehicles safely.
As a result, EV owners often need to visit authorized service centers. This can sometimes increase waiting times and repair costs, especially in areas where EV service infrastructure is still developing.
Why Does Cold Weather Reduce EV Range?
Cold temperatures can significantly affect electric vehicle performance. Many EV owners notice a drop in driving range during winter months.
Battery chemistry works less efficiently in low temperatures. As a result, the battery cannot deliver the same amount of energy as it would in warmer conditions.
Additionally, EVs use battery power to heat the cabin. Unlike gasoline vehicles that use engine heat for warming, electric cars rely on battery energy. This extra energy use further reduces the available driving range in cold weather.
Why Is Public Charging Availability Still Limited?
Public charging infrastructure is improving, but it is still not as widespread as traditional fuel stations. This can create challenges for EV owners, especially on long trips.
In some areas, charging stations may be far apart or frequently occupied. Waiting for a charger to become available can add unexpected delays during travel.
Another issue is compatibility between different charging networks. Some chargers require specific apps, memberships, or payment systems, making the process less convenient for drivers.
Why Do EV Insurance Costs Sometimes Increase?
Many EV owners expect lower overall vehicle costs, but insurance premiums can sometimes be higher than traditional vehicles.
One reason is the high cost of battery packs and specialized components. If these parts are damaged in an accident, replacement costs can be very expensive.
Repair complexity also affects insurance pricing. Since fewer repair shops are equipped to work on EVs, insurers may charge higher premiums to cover potential repair costs.
Why Do Software Issues Affect Some EVs?
Modern electric vehicles rely heavily on software systems for battery management, driving assistance, and connectivity features. While software improves functionality, it can also create new types of problems.
Some EV owners experience software glitches that affect charging, navigation, or vehicle controls. In certain cases, updates are required to fix bugs or improve system performance.
Although many manufacturers provide over the air updates, software issues can still cause temporary inconvenience for drivers.
Why Can EV Resale Values Be Uncertain?
The EV market is evolving rapidly. New battery technologies and longer range models are introduced frequently. Because of this rapid progress, older EV models may lose value faster.
Potential buyers often worry about battery health when purchasing used electric vehicles. If the battery has lost significant capacity, the resale price may drop.
Additionally, government incentives for new EV purchases can influence the used vehicle market. These factors make resale values less predictable compared to traditional vehicles.
FAQs
1. Do electric vehicles require regular oil changes?
No, electric vehicles do not require engine oil because they do not have internal combustion engines. This eliminates the need for regular oil changes, which reduces maintenance costs.
2. How often should EV brake systems be checked?
EV brakes should be inspected during routine service visits, usually once or twice a year. Although regenerative braking reduces brake wear, regular checks are still important for safety.
3. Are EV batteries recyclable?3. Are EV batteries recyclable?
Yes, most EV batteries can be recycled. Many manufacturers are developing recycling programs to recover valuable materials such as lithium, cobalt, and nickel.
4. Can EVs be charged using solar energy at home?
Yes, EV owners can charge their vehicles using solar panels if their home solar system produces enough electricity. This can significantly reduce electricity costs.
5. Do EVs require transmission maintenance?
Most EVs do not have traditional multi speed transmissions. Instead, they use simple gear systems that require very little maintenance compared to conventional vehicles.
Conclusion
Electric vehicles offer many benefits, including lower emissions, quieter driving, and reduced fuel costs. However, EV ownership also comes with several hidden challenges that drivers may not initially expect. Issues such as battery degradation, charging limitations, tire wear, and repair complexity can affect long term ownership.
Understanding these challenges helps drivers make better decisions about maintenance, charging habits, and vehicle care. As technology continues to improve and charging infrastructure expands, many of these problems will likely become smaller in the future.
Electric vehicle problems, EV battery problems, electric car battery degradation, EV battery replacement cost, EV charging problems, electric car charging not working, EV range issues, electric vehicle maintenance cost, EV battery lifespan, EV fast charging problems, EV power loss while driving, electric car overheating issues, EV software glitches, EV motor problems, EV inverter issues, EV cooling system problems, EV dashboard warning lights, electric car battery draining fast, EV repair cost, EV charging station problems, EV battery warranty issues, common electric vehicle problems, EV maintenance checklist, EV performance problems, electric vehicle troubleshooting, EV battery health check, EV charging errors, EV system malfunction, EV battery overheating, EV battery capacity loss, EV electrical system issues, EV service cost, electric car reliability issues, EV long term maintenance, BYD electric vehicle problems, Tesla common issues, Nissan EV problems, Hyundai electric vehicle issues.
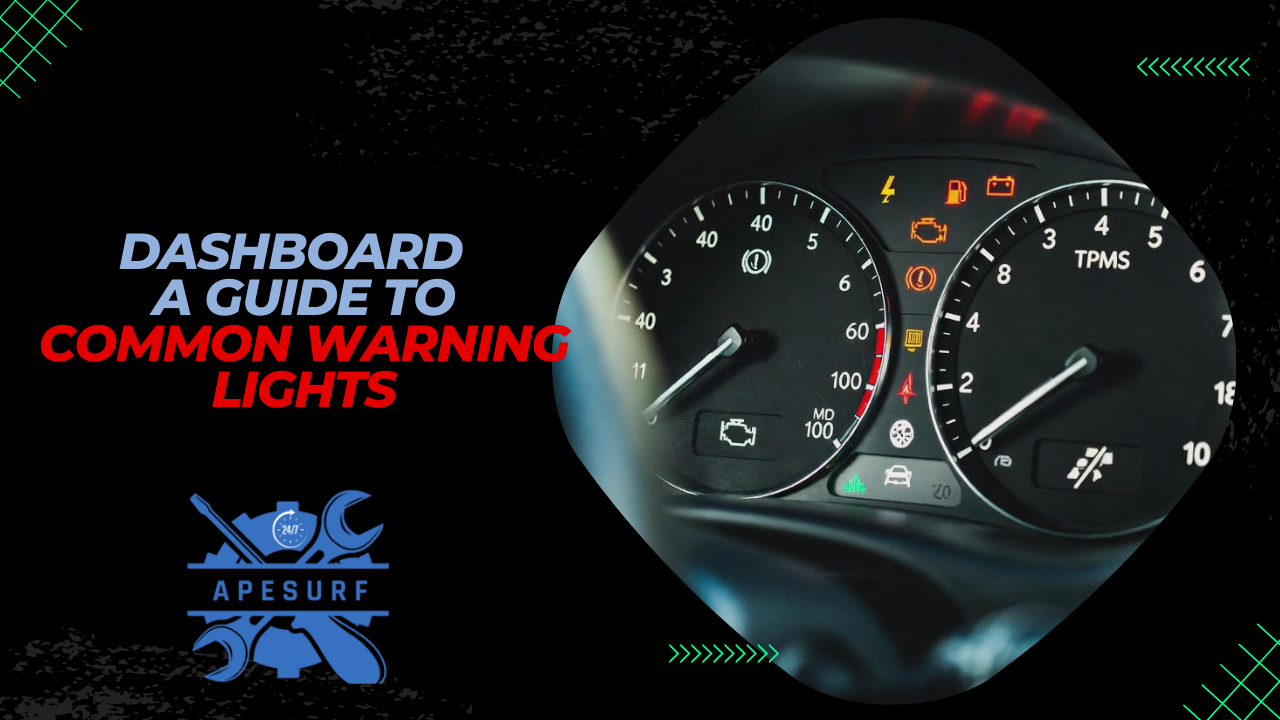
Introduction to Common Warning Lights
In the realm of automobile maintenance, understanding your vehicle’s warning lights is crucial. These illuminated indicators on your dashboard serve as signals, alerting you to potential issues that may require your attention. They range from benign reminders, like low fuel, to serious alerts indicating problems with your car’s engine or brakes. Knowing how to diagnose these warning lights can save you time, money, and headaches down the road.
The dashboard warning lights are your car’s communication system, designed to keep you informed about your vehicle’s health. Each symbol has a specific meaning, and knowing how to interpret them can help you take timely action. In this article, we’ll explore how you can diagnose common warning lights effectively.
Why Diagnosing Warning Lights Is Important
Understanding how to diagnose common warning lights is not just a skill for mechanics; it’s essential for every car owner. When a warning light illuminates, it’s your vehicle’s way of telling you that something isn’t right. Ignoring these signals can lead to costly repairs or even unsafe driving conditions.
Warning Lights On Your Car’s Dashboard, What Do They Mean (Explanation) | Quick Tips | Bright Source
Here are some critical reasons why diagnosing warning lights is essential:
Preventative Maintenance: Addressing minor issues before they escalate can prolong the life of your vehicle and reduce expensive repair bills.
Fuel Efficiency: Warning lights related to engine performance or emissions can negatively affect your fuel economy.
Resale Value: Keeping your vehicle in good condition enhances its resale value, and timely attention to warning lights plays a crucial part.- Incorporating these practices into your regular maintenance routine not only enhances your vehicle’s longevity but also ensures a safer driving experience.
Benefits of Diagnosing Warning Lights
Understanding how to diagnose common warning lights can provide a wealth of benefits:
Cost Savings
Timely intervention when a warning light appears can save you considerable money. For example, if the check engine light indicates a minor issue like a loose gas cap, a simple fix can prevent more severe engine damage.
Enhanced Vehicle Knowledge
Familiarity with your vehicle’s warning lights allows you to understand its needs better. This knowledge equips you to make informed decisions when seeking repairs or discussing issues with your mechanic.
Better Driving Experience
A well-maintained vehicle leads to improved driving comfort and handling. Addressing warning lights promptly ensures that your vehicle performs optimally, providing you with a smooth and enjoyable ride.
Peace of Mind
Knowing that you can diagnose issues as they arise leads to greater confidence behind the wheel. You won’t be left wondering if a problem is brewing under the hood.
Overall, understanding and diagnosing warning lights is a key component of responsible car ownership and can significantly enhance your overall experience as a driver.
A Step-by-Step Guide to Diagnosing Common Warning Lights
Diagnosing warning lights may seem daunting, but following a step-by-step approach can simplify the process. Here’s how to diagnose common warning lights effectively:
Step 1: Reference the Owner’s Manual
Your vehicle’s owner manual is the best source of information regarding dashboard lights. It provides detailed explanations of what each light signifies, along with recommended actions to take. It’s the first step before proceeding to diagnose the issue further.
Step 2: Identify the Warning Light
Different warning lights serve different purposes. Here are some common indicators you might encounter:
- Check Engine Light: Usually indicates an engine problem.
- Battery Light: Suggests a battery or alternator issue.
- Oil Pressure Light: Indicates low oil pressure or an oil leak.
- Tire Pressure Light: Signals low tire pressure.
Step 3: Conduct Preliminary Checks
After identifying the warning light, conduct some basic checks:
- Visual Inspection: Look under the hood for leaks or loose wires.
- Check Fluid Levels: Ensure that oil, coolant, and brake fluid are at appropriate levels.
- Tire Condition: Inspect tires for wear and proper inflation.
- Step 4: Use an OBD-II Scanner
If the warning light persists, you may need to use an OBD-II (On-Board Diagnostics II) scanner. This tool reads error codes from your vehicle’s computer, providing specific information about the underlying issue. Various mobile apps can read codes using your smartphone, making the process even more straightforward.
Step 5: Research the Error Code
Once you have the error code from the OBD-II scanner, research its meaning. Many online resources, including the manufacturer’s website, can help you understand the issue better. Some common error codes can be fixed easily, while others may require professional assistance.
Step 6: Take Necessary Action
Depending on the diagnosis, take appropriate actions:
- Minor Issues: Such as a loose gas cap, can be corrected at home.
- Professional Help: Complex problems, indicated by persistent warning lights, require skilled mechanics.
- By following this structured approach, diagnosing warning lights becomes manageable and manageable while empowering you to take control of your vehicle’s care.
Tips for Diagnosing Warning Lights
Diagnosing common warning lights doesn’t have to be a chore. Here are some tips to make the process easier and more efficient:
Stay Calm
When a warning light illuminates, resist the urge to panic. Take a deep breath, and begin your diagnosis with a clear mind.
Keep Your Owner’s Manual Nearby
Familiarize yourself with the layout of your vehicle’s dashboard and owner’s manual. Make it a habit to refer to the manual any time a new light comes on.
Utilize Technology
If you’re uncertain about how to read error codes, consider utilizing smartphone apps that are compatible with Bluetooth OBD-II scanners. They provide descriptions and repair suggestions based on the data retrieved.
Inspect Regularly
Get into the habit of checking your vehicle’s fluid levels and tire pressure regularly. Preventative checks can help detect issues before they escalate into serious problems.
Consult Professionals When Unsure
While diagnosing warning lights yourself is rewarding, it’s always a good idea to consult a professional mechanic for complex issues. Their expertise can save you time and trouble in the long run.
Common Mistakes in Diagnosing Warning Lights
Even experienced car owners can make mistakes when diagnosing warning lights. Here are some common pitfalls to avoid:
Ignoring the Warning Light
The most significant mistake is to ignore warning lights altogether. Dismissing them may lead to more severe problems.
Not Consulting the Owner’s Manual
Failing to refer to your owner’s manual can lead to misunderstanding what a particular light signifies, causing unnecessary anxiety or misdiagnosis.
Over Reliance on Technology
While OBD-II scanners are incredibly useful, they are not foolproof. Always double-check your findings against your vehicle’s manual or consult with a mechanic.
Delaying Action
Procrastination can worsen issues. If a warning light is indicating a serious problem, take action as soon as possible to avoid further damage.
Skip Preliminary Checks
Jumping straight to the OBD-II scanner without doing a visual inspection may result in missed potential issues. Always perform a quick check first.
By being aware of these common mistakes, you can improve your ability to accurately diagnose warning lights and take the necessary actions.
Frequently Asked Questions (FAQs)
What Should I Do If a Warning Light Comes On?
Begin by consulting your owner’s manual to identify the meaning of the warning light. If it indicates a severe issue, consider pulling over and addressing the problem or calling for assistance.
Is It Safe to Drive with Warning Lights On?
It depends on the warning light. While minor issues like a low fuel light may be fine to drive with, serious warnings like brake or engine lights should be addressed immediately to ensure safety.
How Can I Reset a Warning Light?
You can reset some warning lights by disconnecting the car battery for a short period or using an OBD-II scanner. However, it’s essential to resolve the underlying issue first.
How Often Should I Check My Warning Lights?
You should check your dashboard warning lights every time you start your vehicle to ensure they’re functioning correctly.
Can I Ignore My Check Engine Light?
Ignoring the check engine light is never advisable. It could indicate a range of issues, from minor to severe. Always address it as soon as possible.
Conclusion: Empower Yourself Through Knowledge
Understanding how to diagnose common warning lights is an invaluable skill for any car owner. By becoming familiar with your vehicle’s dashboard, reading your owner’s manual, and using tools like OBD-II scanners, you empower yourself to make informed decisions.
Timely intervention can save you money, enhance your driving experience, and ensure your safety on the road. Remember, your car communicates with you through these warning lights; all it requires is a keen eye and a willingness to listen.
Taking control of your vehicle’s maintenance journey leads to longevity, reliability, and overall satisfaction. So the next time a warning light illuminates your dashboard, you’ll be ready to diagnose the issue like a pro!

10 Warning Signs Your Car Engine Is About to Fail

10 Hidden Problems Electric vehicles (EVs) Owners Face

Understanding Your Dashboard: A Guide to Common Warning Lights

Stop! How to Know When It’s Time to Replace Your Brake Pads

Common Electrical Issues Plaguing car Owners
10 Hidden Problems Electric vehicles (EVs) Owners Face
10 Warning Signs Your Car Engine Is About to Fail
10 Warning Signs Your Car Engine Is About to Fail
Car engine is the heart of your vehicle. When it starts to fail, it often gives warning signs before a...

10 Hidden Problems Electric vehicles (EVs) Owners Face
Electric vehicles (EVs) are becoming more popular because they are quiet, efficient, and better for the environment. However, EV ownership...
Understanding Your Dashboard: A Guide to Common Warning Lights
Introduction to Common Warning Lights In the realm of automobile maintenance, understanding your vehicle’s warning lights is crucial. These illuminated...
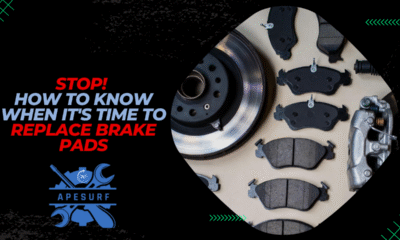
Stop! How to Know When It’s Time to Replace Your Brake Pads
Driving is an everyday activity for many people, but it can also be a source of anxiety especially when it...
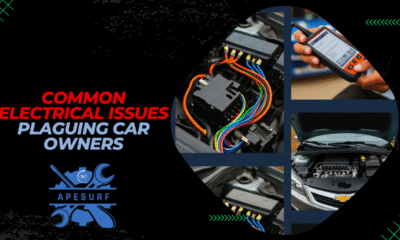
Common Electrical Issues Plaguing car Owners
When it comes to cars, electrical problems often leave owners scratching their heads. The Chevy Malibu, a popular midsize sedan...


What Every Car Buyer Should Know
When buying a used car, understanding its history is crucial. One way to do that is by checking its Carfax...
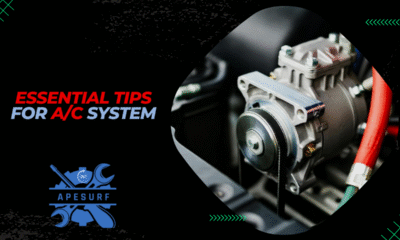

Essential Tips for Maintaining Your Car’s A/C System
Car air conditioning systems are essential for comfort, especially during hot summer months. Understanding how to maintain this vital component...

Is Your Car Trying to Tell You? Signs of a Failing Alternator You Shouldn’t Ignore
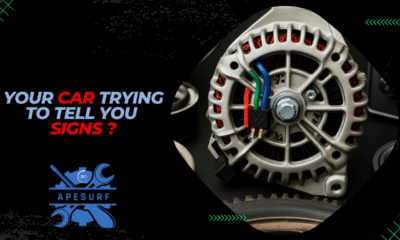
When it comes to vehicle maintenance, understanding your alternator’s role is crucial. The alternator is a vital part of your...


How Worn Tires Create Vibration Issues
Introduction to Tire Vibrations Tires are perhaps the most critical component of your vehicle, linking it to the road. When...

The Ultimate Guide to Tire Rotation: How Often Should You Do It?
Tire rotation is a crucial aspect of vehicle maintenance that many car owners often overlook. But it plays a significant...
-
 Vehicle Maintenance2 years ago
How to Replace the Fuel Pump on a 2000 Silverado: A Step-by-Step Guide
-
 Vehicle Maintenance2 years ago
Common Issues with the Chevrolet S10 2.2 Engine: What Owners Need to Know
-
 Vehicle Maintenance1 year ago
Is the BJ’s Wholesale Auto Buying Program Worth It?
-
 Vehicle Maintenance2 years ago
Understanding the Hyundai vehicle Lease Early Termination Fee: What You Need to Know
-
 Vehicle Maintenance2 years ago
The Common Causes of a Buick Enclave Radio Not Working
-
 Vehicle Maintenance2 years ago
Why is my Toyota Camry’s fuel gauge stuck on full?
-
 Vehicle Maintenance1 year ago
Why is my Kia Sorento making a rattling noise when I accelerate?
-
 Vehicle Maintenance2 years ago
Why Your Honda Pilot Battery Light Keeps Coming On: Common Causes and Solutions